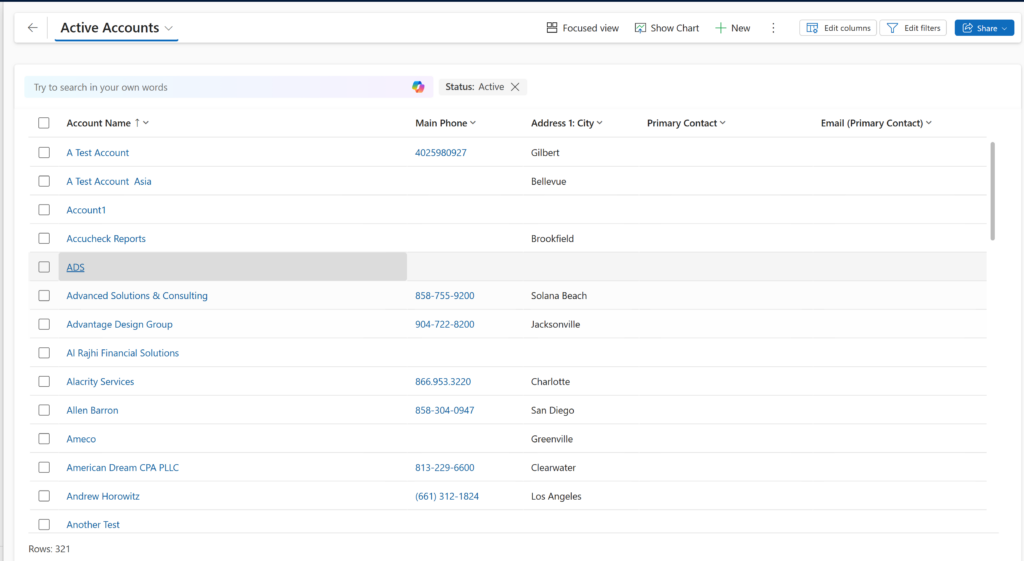
Keeping your Dynamics 365 data accurate and up to date is essential for maintaining efficient business operations. One of the best ways to make bulk updates quickly is by using Excel Online. This method allows users to edit records in a familiar spreadsheet environment while ensuring real-time synchronization with Dynamics 365.
Want to learn how to easily update data in Dynamics 365 using Excel Online? Watch our step-by-step video tutorial and streamline your data management today!
Why Use Excel Online to Update Dynamics 365 Data
Manually updating records in Dynamics 365 can be time-consuming, especially when dealing with large datasets. Excel Online provides an efficient way to make bulk changes while keeping data connected to the system. Instead of exporting, editing, and re-importing files, users can update data directly in Excel Online and publish changes back to Dynamics 365 in a few simple steps.
Steps to Update Data in Dynamics 365 Using Excel Online
1. Navigate to Your Data in Dynamics 365
Open Dynamics 365 and go to the records you want to update, such as contacts, accounts, or leads. Select the dataset or view that contains the information you need to modify.
2. Export Data to Excel Online
Click the Export to Excel button and select Open in Excel Online instead of downloading the file. The data will open in an editable Excel Online spreadsheet, allowing you to modify records in real time.

3. Make Updates in Excel Online
Modify the necessary fields in Excel Online. You can edit existing records, correct errors, or make bulk updates. Excel’s sorting and filtering tools can help organize data before making changes.
4. Validate and Save Changes
Before saving, double-check your updates to ensure accuracy. Dynamics 365 applies data validation rules automatically, but it’s good practice to review entries for consistency.
5. Save and Publish Back to Dynamics 365
After reviewing the changes, click Save in Excel Online. The system will automatically sync the updates with Dynamics 365, ensuring that all modifications are reflected in the CRM.

Best Practices for Updating Data Using Excel Online
- Apply filters and sorting before exporting data to focus on the relevant records.
- Review all edits before saving to prevent unintended changes.
- Ensure data meets Dynamics 365 validation rules to avoid errors during the update process.
Conclusion
Using Excel Online to update data in Dynamics 365 is an efficient way to make bulk changes without disrupting workflows. This feature enables users to maintain data integrity while working in a familiar spreadsheet environment. By following these steps and best practices, you can keep your CRM data accurate and up to date with minimal effort. Visit our blog for further information on Data Analysis in Dynamics 365.
Partner with enCloud9 for Expert Dynamics 365 Solutions
At enCloud9, we specialize in helping businesses optimize their Dynamics 365 experience. Whether you need assistance with data management, Dynamics 365 customization or optimization or process automation, our team of experts is here to support you. Explore our extensive range of services. Contact us today to learn how we can help you maximize the value of your Dynamics 365 system!
Explore our blog or visit our YouTube channel to learn more about Dynamics 365 and discover tips to maximize your experience!
Another D365 Quick tip you may find useful is Renaming the Root Business Unit and Team.

![[HOW TO] Update Data in Dynamics 365 using Excel Online Data Maintenance in Dynamics 365 | enCloud9](https://www.encloud9.com/wp-content/uploads/2025/01/HOW-TO-Update-Data-in-Dynamics-365-using-Excel-Online.png)


